Step-by-Step: Implementing Ecommerce Tracking in Bing Ads

Open uping Success with Bing Ads Ecommerce Tracking
When it comes to achieving success in ecommerce, understanding bing ads ecommerce tracking is crucial. If you want a quick answer, here's why it's essential:
- Measure Effectiveness: Track what actions users take after clicking your ads.
- Optimize Campaigns: Use data to improve ad targeting and strategy.
- Boost ROI: Identify what drives sales and refine your efforts accordingly.
Bing ads ecommerce tracking helps businesses measure the effectiveness of their ad campaigns by tracking user actions. Whether it's purchases, sign-ups, or app downloads, knowing which ads lead to these actions ensures you can make informed decisions to boost your performance.
Knowing how to set up and use bing ads ecommerce tracking not only saves you time and effort but also makes your campaigns more efficient. From increasing brand visibility to fostering customer loyalty, tracking these metrics is vital for optimizing your online advertising efforts.
As Chase Chappell, a seasoned expert in digital marketing and the founder of Chappell Digital Marketing, my experience with bing ads ecommerce tracking has enabled brands to improve their campaign performance exponentially. This expertise ensures that you're receiving the most actionable and effective advice available.

Setting Up Your Bing Ads Account
To get started with Bing Ads ecommerce tracking, you first need to set up your Bing Ads account. This will allow you to access all the tools and features necessary for tracking and optimizing your online store's performance.
Sign Up for a Bing Ads Account
If you don't already have a Bing Ads account, you'll need to create one. Follow these simple steps:
- Go to the Bing Ads sign-up page: Visit the Microsoft Advertising website and click on the "Sign up now" button.
- Fill in your details: Enter your email address, password, and other required information.
- Verify your account: Follow the prompts to verify your email and complete the registration process.
Once your account is set up, you can start using Bing Ads to drive traffic to your ecommerce store.
Create a Universal Event Tracking (UET) Tag
The next step is to create a Universal Event Tracking (UET) tag. This tag will help you track user interactions on your website, such as page views, purchases, and other important actions.
- Log in to your Bing Ads account.
- Steer to the Tools dropdown menu: Click on "Tools" and select "UET tags".
- Create a new UET tag: Click on "Create UET tag" and enter a name and description for your tag. This will help you identify it later.
- Copy the UET tracking code: Once your tag is created, you'll see a tracking code. Copy this code, as you'll need it for the next steps.
Installing the UET Tag
You can install the UET tag using Google Tag Manager or directly on your Shopify store. Here's how to do it:
Using Google Tag Manager
- Open Google Tag Manager: Log in to your Google Tag Manager account.
- Create a new tag: Go to "Tags" and click "New". Select "Microsoft Advertising Universal Event Tracking" from the list.
- Enter your UET tag ID: Paste the UET tag ID you copied earlier.
- Set the trigger: Choose "All pages" as the trigger to ensure the tag fires on every page.
- Save and publish: Save your tag and publish the changes to make it live on your website.
On Shopify
- Log in to your Shopify account.
- Steer to Online Store > Themes: Click on the "..." button and select "Edit code".
- Edit the theme.liquid file: Open the
theme.liquidfile and find the<head>section. - Paste the UET tag: Insert the UET tracking code between the
<head>and</head>tags. - Save your changes.
Next, add the UET tag to your thank you page:
- Go to Settings > Checkout.
- Find the Additional scripts section: Paste the UET tag here and click "Save".
Setting Up Conversion Tracking
After installing the UET tag, you can set up conversion tracking in your Bing Ads account to monitor specific events like purchases or sign-ups.
- Log in to your Bing Ads account.
- Steer to Tools > Conversion goals: Click on "Create Conversion Goal".
- Define your conversion goal: Enter a name, select "Destination URL" as the type, and specify the URL conditions (e.g., URLs containing
thank_you). - Save your goal: This will enable Bing Ads to track conversions whenever a user completes the specified action.
By following these steps, you'll be well on your way to leveraging Bing Ads ecommerce tracking to optimize your marketing efforts and drive more sales. Next, we'll dive into how to track conversions with destination URLs.
Creating and Installing the UET Tag
Creating the UET Tag
To get started with Bing Ads ecommerce tracking, you need to create a Universal Event Tracking (UET) tag. This tag helps you track user interactions on your website. Here’s how you can create it:
- Log into your Bing Ads account: Steer to the Bing Ads interface.
- Go to Tools: Click on the "Tools" dropdown menu and select "UET tag".
- Create a new UET tag: Click on "Create UET tag".
- Name your tag: Give your tag a name and a brief description. This can be as simple as the name of your store or the specific tracking purpose.
- Save the tag: After naming your tag, click "Save". You'll now see the UET tracking code.

Important: You only need the UET tag ID for Google Tag Manager, not the entire code.
Installing the UET Tag with Google Tag Manager
Now that you have your UET tag ID, it’s time to install it using Google Tag Manager (GTM). This will help you manage your tags without modifying your website code directly.
- Log into Google Tag Manager: Go to your GTM account.
- Create a new tag: Steer to "Tags" and click "New".
- Select tag type: Choose "Microsoft Advertising Universal Event Tracking" from the tag type options.
- Enter your UET tag ID: Paste the UET tag ID you copied from Bing Ads.
- Set the trigger: Choose the "All Pages" trigger to fire the tag on every page.
- Name and save your tag: Name your tag (e.g., "Bing Ads - Page View") and click "Save".
To ensure everything is working correctly, use the Debug mode in GTM:
- Enable Debug mode: Click the "Preview" button in the top right corner of the GTM interface.
- Enter your website URL: A new tab will open. Enter the URL of your website and click "Start".
- Check the tag firing: If the UET tag fires correctly, you’ll see it listed under the "Tags Fired" section.
For additional verification, you can use the UET Tag Helper Chrome extension to see if the tag is working as expected.

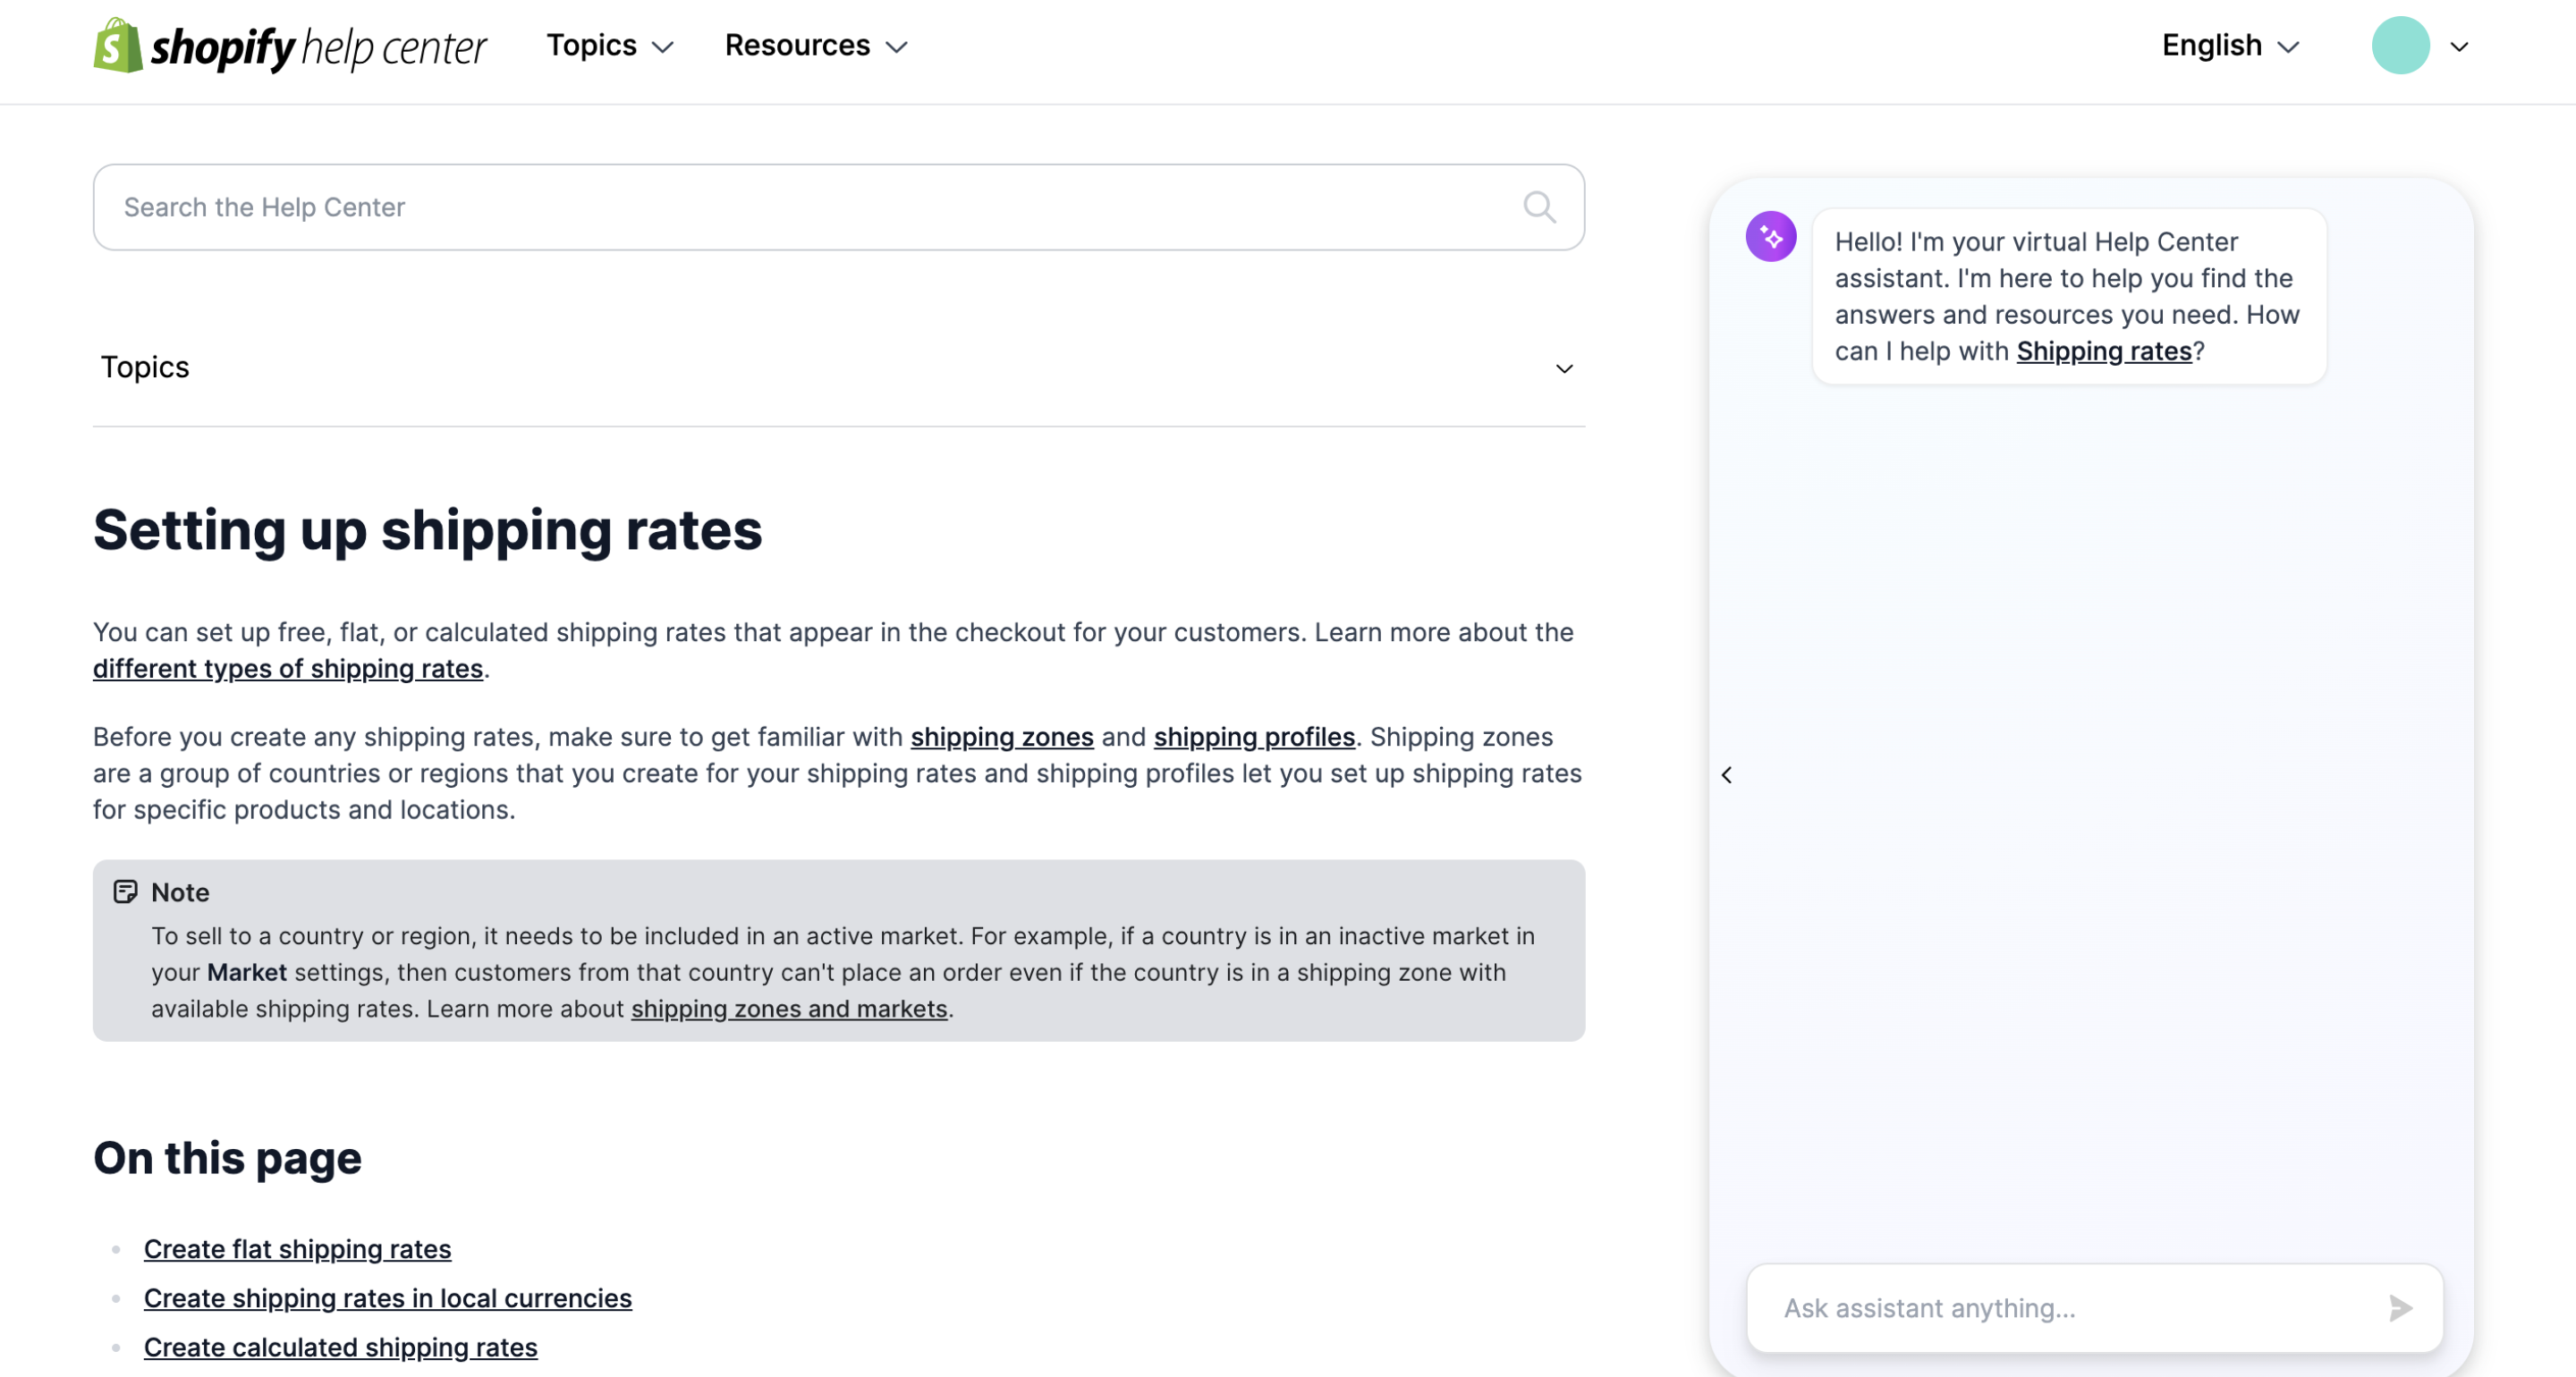
Installing the UET Tag on Shopify
If you’re using Shopify, you’ll need to add the UET tag to your store’s code. Here’s how:
- Log into your Shopify account: Go to your Shopify admin panel.
- Steer to Themes: Click on "Online Store" and then "Themes".
- Edit code: Click the "..." button next to your active theme and select "Edit code".
- Locate the theme.liquid file: Open the
theme.liquidfile. - Paste the UET tag: Find the
<head>section and paste the UET tag code between the<head>and</head>tags. Click "Save".
Next, you need to add the UET tag to your thank you page to track purchases:
- Go to Settings: In your Shopify admin, steer to "Settings" and then "Checkout".
- Add the tag to additional scripts: In the "Additional scripts" section, paste the UET tag. Click "Save".
By following these steps, you’ll have your UET tag set up and ready to track user interactions on your Shopify store. This is crucial for effective Bing Ads ecommerce tracking and optimizing your marketing campaigns.
Next, we'll dive into how to set up conversion tracking using destination URLs.
Setting Up Conversion Tracking
Tracking Conversions with Destination URLs
One of the simplest ways to track conversions in Bing Ads is by using destination URLs. This method is ideal for tracking when users reach specific pages, such as a "thank you" or a product page.
Here’s how to set it up:
- Log into Bing Ads: Open your Bing Ads account and steer to the top menu.
- Go to Tools: Click on the "Tools" dropdown and select "Conversion goals".
- Create Conversion Goal: Click on "+ Create Conversion Goal" to start setting up your goal.
- Define Goal Details: Enter a name for your goal and select "Destination URL" as the goal type.
- Specify the URL: Enter the URL of your "thank you" page or any other page you want to track. For example, if you want to track purchases, you might use a URL like
https://yourstore.com/thank_you. - Set Goal Category: Choose a category that best describes your goal (e.g., purchase, signup).
- Count Conversions: Decide how you want to count conversions. For purchases, you typically want to count every instance.
- Include in Reports: Make sure to check the box to include this goal in your reports.
Once you’ve saved your goal, Bing Ads will start tracking visits to the specified URL as conversions.
Tracking Purchases with Custom Events
For more complex tracking, like capturing purchase details, custom events are the way to go. This involves using Google Tag Manager (GTM) and the Data Layer.
Here’s a step-by-step guide:
- Data Layer Setup: First, ensure your developer has implemented the Data Layer on your "thank you" page. This layer should include details like transaction ID, purchase value, and currency.
```html
```
Create Data Layer Variables in GTM: Go to GTM, steer to Variables > New > Data Layer Variable. Create variables for the purchase value (
ecommerce.purchase.value) and currency (ecommerce.purchase.currency).Set Up a Custom Event Trigger: In GTM, go to Triggers > New > Custom Event. Name the event "purchase" to match the Data Layer event.
Create the Purchase Tag:
- Go to Tags > New > Microsoft Advertising Universal Event Tracking.
- Configure the tag to fire on the custom event trigger you just created.
Use the Data Layer variables for the purchase value and currency.
Test Your Setup: Enable Preview mode in GTM and make a test purchase. Check if the Data Layer captures the event and if the tag fires correctly.
By following these steps, you can effectively track purchases as custom events in Bing Ads, capturing detailed transaction data.
Next, we'll address some frequently asked questions about Bing Ads ecommerce tracking.
Frequently Asked Questions about Bing Ads Ecommerce Tracking
How to set up Bing Ads conversion tracking?
To set up Bing Ads conversion tracking, start by installing a Universal Event Tracking (UET) tag. Here’s a step-by-step guide:
- Log in to your Bing Ads account.
- Go to the Tools dropdown menu and select UET tag.
- Create a new UET tag by providing a name and description.
- Copy the UET tracking code.
Next, you need to add this UET tag to your website. If you’re using Google Tag Manager (GTM):
- Open GTM and create a new tag.
- Select Microsoft Advertising Universal Event Tracking.
- Paste the UET tag ID.
- Set the trigger to All pages.
- Save and publish your tag.
For Shopify users:
- Go to Online Store > Themes.
- Click the ... button and select Edit code.
- Open the
theme.liquidfile and paste the UET tag within the<head>section. - Save your changes.
After installing the UET tag, set up conversion tracking:
- Go back to Bing Ads and steer to Tools > Conversion goals.
- Click Create Conversion Goal.
- Fill in the goal details, including the name, category, and type.
- Define how to count conversions and include them in reports.
Can you track Bing Ads in Google Analytics?
Yes, you can track Bing Ads metrics in Google Analytics. Here’s how:
- Link your Bing Ads account to Google Analytics.
- Track metrics such as clicks, impressions, costs, and conversions.
- Analyze revenue and ROI to gauge campaign performance.
To link the accounts:
- In Google Analytics, go to Admin > Property > Google Ads Linking.
- Follow the prompts to link your accounts.
Once linked, you can view Bing Ads data in Google Analytics under Acquisition > Campaigns. This integration helps you see how your Bing Ads are performing in terms of driving traffic and generating revenue.
What is Bing tracking?
Bing tracking involves using Universal Event Tracking (UET) to monitor user activity on your website. It allows you to track various actions users take after clicking on your ads, such as page views, purchases, and form submissions.
Universal Event Tracking helps you:
- Understand user behavior.
- Measure the effectiveness of your ads.
- Optimize your campaigns based on detailed insights.
When a user clicks on your Bing Ad, the UET tag captures their actions and sends this data back to Bing Ads. This data includes metrics like:
- Clicks: Number of times your ad was clicked.
- Impressions: Number of times your ad was shown.
- Costs: Total spend on your ads.
- Conversions: Actions users take that you’ve defined as valuable.
- Revenue: Income generated from conversions.
- ROI: Return on investment, calculated from revenue and costs.
By leveraging bing ads ecommerce tracking, you can improve your campaign performance and make data-driven decisions.
Conclusion
In summary, setting up Bing Ads ecommerce tracking is crucial for understanding the effectiveness of your marketing efforts. By creating and installing the Universal Event Tracking (UET) tag, you can capture valuable data such as clicks, impressions, costs, conversions, revenue, and ROI. This information allows you to make data-driven decisions and optimize your ad campaigns.
The benefits of Bing Ads ecommerce tracking are immense. You gain insights into customer behavior, which helps you refine your marketing strategies. This leads to better targeting, increased sales, and a higher return on investment.
At Sirge, we specialize in AI-powered growth solutions custom for Shopify brands. Our platform offers personalized recommendations and advanced marketing strategies to help you achieve significant sales growth. By integrating Bing Ads ecommerce tracking with our tools, you can open up the full potential of your ad campaigns and drive your business forward.
Ready to take your Shopify store to the next level? Explore Sirge's AI-powered growth solutions today and see how we can help you achieve your marketing goals.
Data Accuracy and Source
First, rest assured that Sirge’s data is accurate. However, the way we track and attribute conversions differs from ad platforms:
- Sirge Attribution: We track a user’s journey from the initial click on an ad all the way to the purchase, giving you a full picture of what drives sales.
- Ad Platform Attribution: Ad platforms often attribute a sale to an ad if there was a click and a later purchase, even if the purchase wasn't directly influenced by that click. This can lead to over-attribution.
Where Does Sirge's Data Come From?
Sirge collects data directly from your website interactions and integrates it with data from your ad platforms. Here’s how:
- Website Interactions: We track user behavior on your site from the first ad click to the final purchase.
- Ad Platform Data: We pull in data from your ad platforms to understand ad interactions, then combine it with our tracking for complete attribution insights.
The Impact of When You Set Up Sirge
Another reason for discrepancies is the timing of your Sirge setup:
- No Retroactive Data: Sirge does not track data from before you set up tracking. If you start using Sirge after running ads, past interactions won’t be captured, which can initially cause data differences.

