From Setup to Mastery: Your Guide to Facebook Business Manager

From Setup to Mastery: Your Guide to Facebook Business Manager
Facebook Business Manager is a must-have tool for anyone serious about leveraging Facebook for their business. Whether you're managing a single business page or handling multiple accounts and ad campaigns, Business Manager simplifies the entire process.
Quick Overview:- What is Facebook Business Manager? A free tool to organize, manage, and control your business assets on Facebook.- Why use it? Streamlines workflow, allows role-based access, integrates with analytics, and improves ad management.- How to set it up? Requires a Facebook Business Page. Steps include adding your page, ad accounts, team members, and setting up pixels for tracking.- Key Features: Manage multiple pages, control permissions, handle billing, and access detailed analytics.
Facebook Business Manager, also known as Meta Business Manager, serves as a central dashboard to organize and control your Facebook marketing and advertising assets. It's essential for businesses, agencies, and vendors wanting to streamline their marketing efforts and manage their accounts from one location.
I'm Chase Chappell, a digital marketer and founder of Chappell Digital and Sirge. I've helped countless clients steer and master Facebook Business Manager. With this guide, you'll be equipped to optimize your Facebook campaigns and lift your marketing strategy to new heights.

What is Facebook Business Manager?
Facebook Business Manager, now known as Meta Business Manager, is a powerful, free platform designed to help businesses manage their Facebook marketing and advertising activities. Think of it as a central dashboard where you can organize all your business assets in one place.
Central Dashboard
Meta Business Manager acts as a central dashboard for all your Facebook and Instagram activities. Whether you're running ads, managing pages, or collaborating with team members, this tool keeps everything streamlined and organized.

Manage Assets
One of the key features is its ability to manage multiple assets. You can control various Facebook Pages, ad accounts, and even Instagram accounts. This is particularly useful if you have several brands or products under one umbrella.
Example: If you're a digital marketing agency handling multiple clients, you can manage all their assets without logging in and out of different accounts.
Separate Personal and Business
Another significant advantage of using Meta Business Manager is that it separates your personal profile from your business activities. This means you won't accidentally post business updates on your personal profile or get distracted by personal notifications while working.
Quote: "Business Manager helps advertisers integrate Facebook marketing efforts across their business and with external partners." - Meta
Why This Matters
By keeping your business activities separate from your personal profile, you maintain a professional image and ensure that your marketing efforts are focused and efficient.
Using Meta Business Manager not only helps you stay organized but also provides a secure way to manage who has access to your business assets. You can grant different levels of access to employees, partners, and vendors without sharing your personal login information.
In summary, Meta Business Manager is an essential tool for businesses looking to optimize their Facebook and Instagram marketing efforts. It centralizes your activities, keeps your assets secure, and separates your personal and business profiles for a more professional approach.
Next, we’ll dive into why you should use Facebook Business Manager and the specific benefits it offers.
Why Use Facebook Business Manager?
Benefits
Facebook Business Manager offers a range of benefits that make managing your social media presence easier and more efficient. Here are some key advantages:
- Centralized Management: Keep all your Facebook and Instagram activities in one place.
- Improved Security: Separate your personal and business profiles to avoid posting errors and keep your business assets safe.
- Detailed Reporting: Access comprehensive reports to track the performance of your ads and posts.
For Social Media Managers
If you're a social media manager, Facebook Business Manager is your best friend. Here's why:
- Multi-User Access: Easily allow multiple team members to manage your business pages without sharing your personal login details.
- Task Assignment: Assign specific roles and tasks to team members, ensuring everyone knows their responsibilities.
- Performance Tracking: Use detailed analytics to monitor and optimize your campaigns.
For Business Owners
Business owners can also reap significant benefits from Facebook Business Manager:
- Brand Separation: Keep your personal and business profiles separate, maintaining a professional image.
- Ownership Control: Retain ownership of all business assets even when providing access to employees or external vendors.
- Custom Audiences: Build and target custom audiences based on user data, enhancing the effectiveness of your ad campaigns.
Managing Multiple Assets
If you manage multiple Facebook or Instagram assets, Facebook Business Manager is invaluable:
- Organized Dashboard: Keep all your pages, ad accounts, and apps organized in one central location.
- Efficient Management: Quickly switch between different assets without logging in and out of multiple accounts.
- Streamlined Workflows: Simplify your workflow by managing all your assets from one platform.
Working with External Vendors
Facebook Business Manager makes it easy to collaborate with external vendors, agencies, or freelancers:
- Controlled Access: Grant specific access to vendors without sharing ownership of your business assets.
- Secure Collaboration: Ensure your business data remains secure while allowing vendors to manage your campaigns.
- Partnership Features: Use the “Partners” feature to add other companies as collaborators, share assets, and access their followers.
In the next section, we’ll guide you through the steps to set up your Facebook Business Manager account.
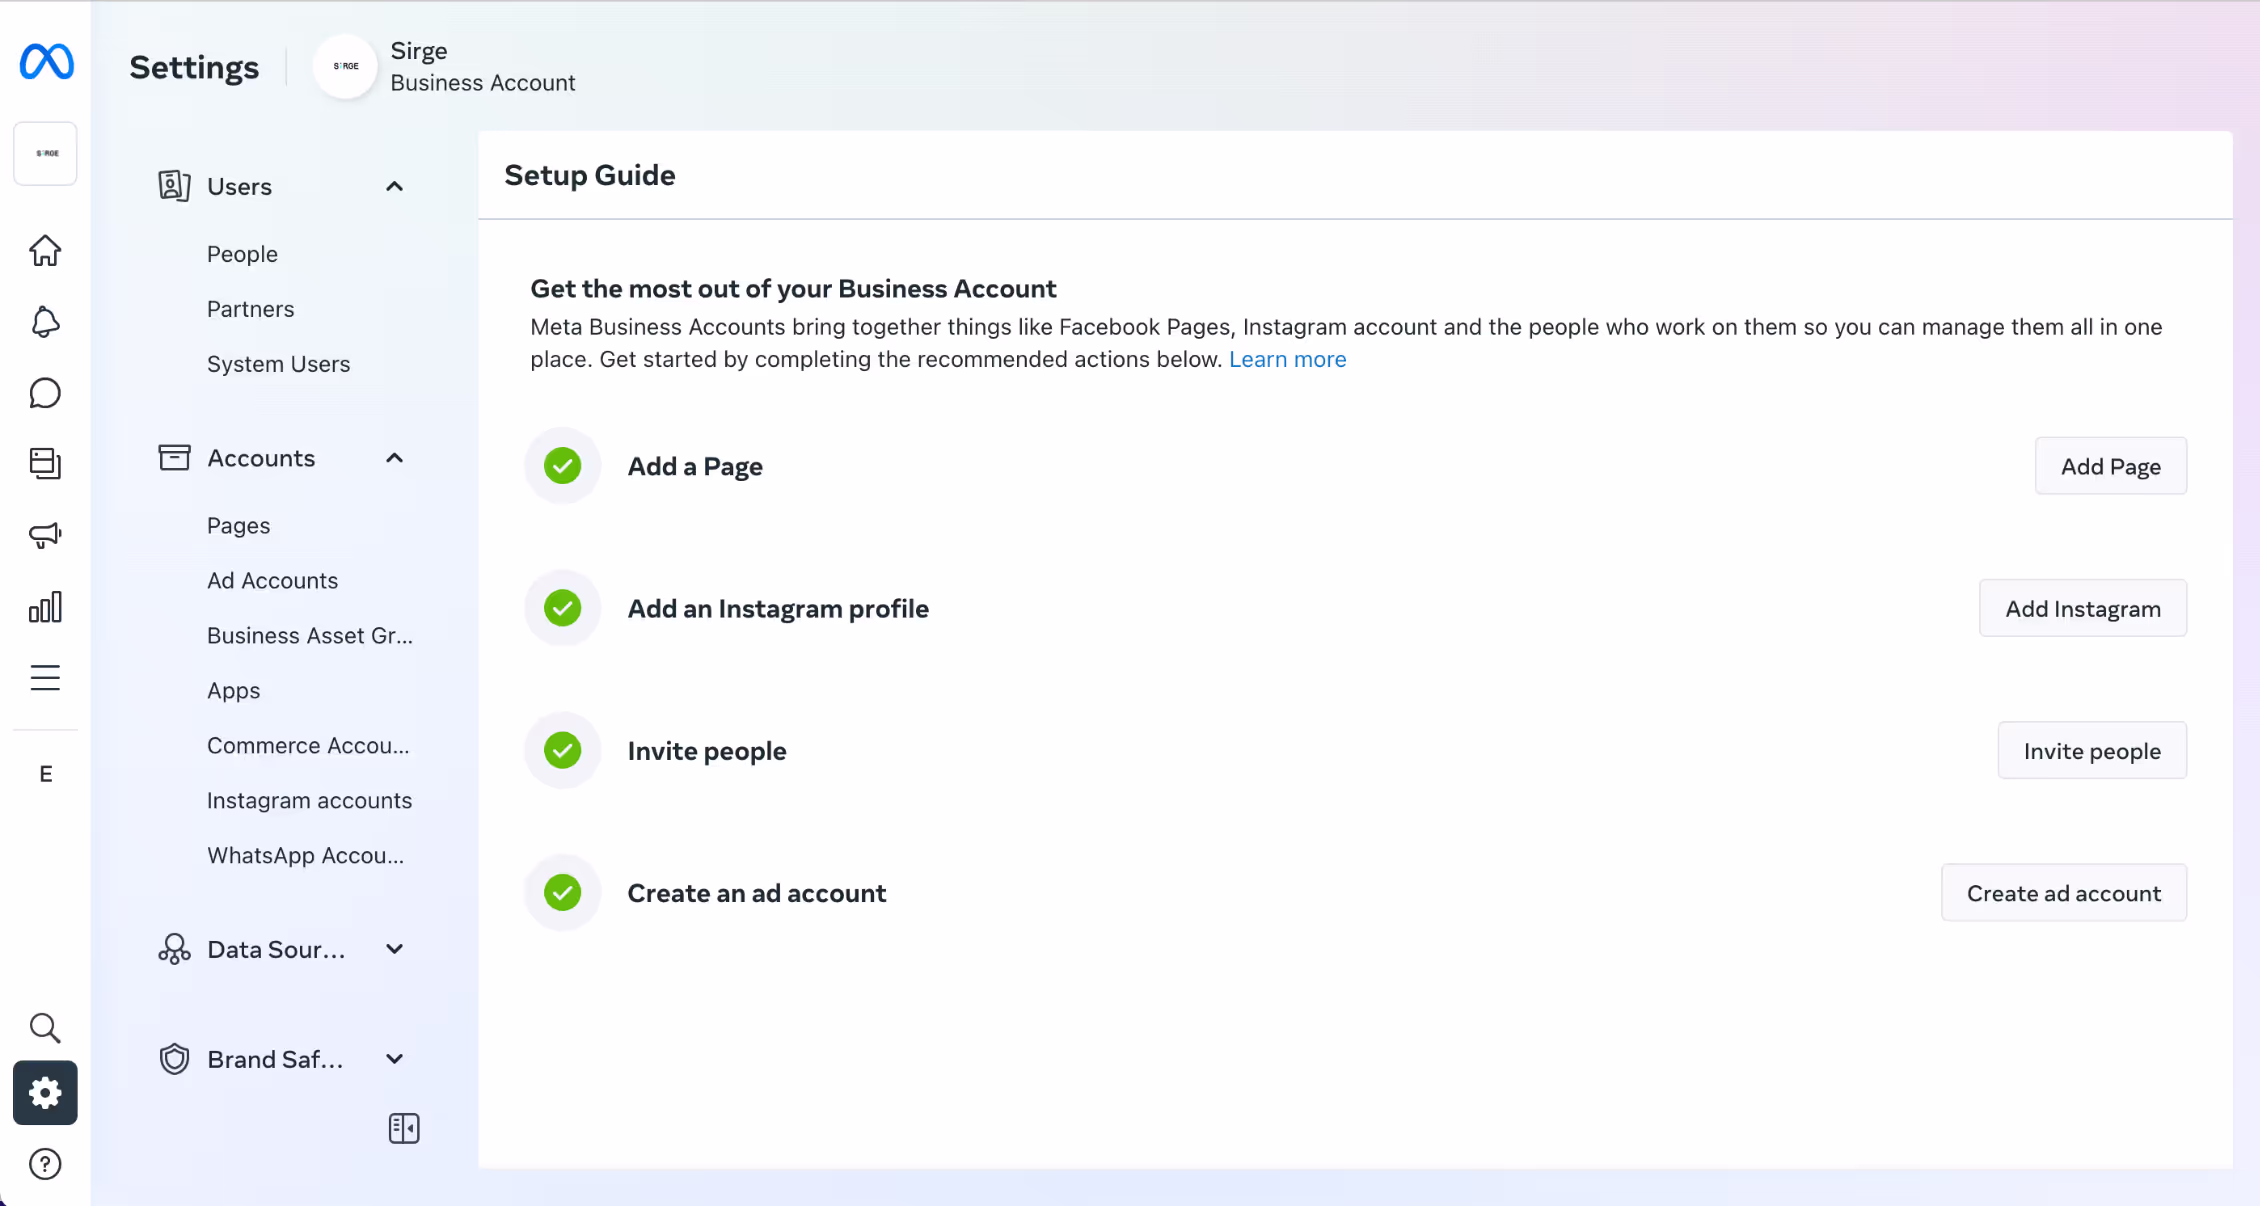
How to Set Up Facebook Business Manager
Step 1: Create Your Business Manager Account
First things first, you need to create your Facebook Business Manager account.
- Log in to your personal Facebook account.
- Head over to business.facebook.com and click on Create Account.
- Enter your business name, your name, and your business email address. Then hit Submit.
- Check your email for a confirmation message. Click Confirm Now to verify your account.
Now, you’re ready to add your business details. Fill in your business’s legal name, address, phone number, and website.
Step 2: Add Your Facebook Business Page(s)
Next, you’ll want to add your Facebook business page.
- From the Business Manager menu, click Business Assets.
- Click Pages, then select Add Pages.
- Choose to create a new Facebook Page, claim an existing Facebook Page, or request access to someone else’s page.
If you’re managing your own assets, select Claim an existing Facebook Page and type the name of your business page. Your request will be approved automatically if you have admin access.
Step 3: Add Your Facebook Ad Account(s)
Adding your ad account is crucial for managing your ads.
- From the Business Manager dashboard, click Add Ad Account.
- Click Add Ad Account again.
- Enter your ad account ID (find this in Ads Manager).
If you don’t have an ad account yet:
- Go to Business Assets.
- Click Add Assets and select Advertising > Ad Account.
- Choose Create a new ad account and fill in the details like name, time zone, and currency.
Step 4: Add People to Manage Your Facebook Assets
You might need a team to help manage everything.
- From your Business Manager dashboard, click Business Settings.
- Click People and then Add People.
- Enter the business email addresses of your team members.
- Choose their access level: Full control, Partial access, or Advanced options.
Note: Limit full control to a few trusted people.
Step 5: Connect Business Partners or Ad Agencies
If you’re working with partners or agencies:
- From your Business Manager dashboard, click Business Settings.
- Click Partners and then Add.
- Enter your partner’s Business Manager ID and click Add.
This allows your partner to manage permissions for their team without you doing it individually.
Step 6: Add Your Instagram Account
To manage your Instagram along with Facebook:
- From your Business Manager dashboard, click Business Settings.
- Click Instagram Accounts and then Add.
- Enter your Instagram login information and click Log In.
Step 7: Set Up Facebook Pixels
Setting up a Facebook Pixel helps track conversions and optimize ads.
- From your Business Manager dashboard, click Business Settings.
- Expand the Data Sources menu and click Pixels.
- Click Add and enter a name for your pixel.
- Enter your website URL and click Continue.
Follow the instructions to place the pixel code on your website.
Step 8: Increase Security on Your Account
Security is crucial for protecting your business assets.
- From the Business Manager dashboard, click Business Settings.
- Click Security Center.
- Set up two-factor authentication and select Everyone for the highest security.
With these steps, your Facebook Business Manager account is now set up and secure. Next, we'll dive into creating your first ad campaign.
How to Create Your First Campaign in Facebook Business Manager
Step 9: Place Your First Ad
Creating your first ad in Facebook Business Manager is a straightforward process. Here's how to get started:
1. Access the Ads Dashboard
From your Business Manager dashboard, click Ads in the left column. This takes you to your ads dashboard, where you can see metrics from recent ads.
2. Create a New Ad
In the ads dashboard, click the blue Create ad button in the top right corner.
3. Set Your Goals
Facebook offers various goals for your ad campaign. Choose the one that aligns with your business objectives:
- Awareness: Increase brand recognition.
- Traffic: Drive visitors to your website.
- Engagement: Boost likes, shares, and comments.
- Leads: Collect information from potential customers.
- App Promotion: Encourage app downloads.
- Sales: Increase online or offline sales.
4. Target Your Audience
The "create new audience" feature allows you to define your audience based on:
- Gender
- Age
- Region
- Language
- Interests
This helps you reach a highly-targeted core demographic group. Facebook also provides estimates on daily reach and clicks based on your audience and budget.
5. Set Your Budget and Schedule
Choose between a daily budget or a lifetime budget:
- Daily Budget: Limits how much you spend per day.
- Lifetime Budget: Sets a maximum amount for the entire campaign duration.
Decide how long you want your ad to run. You can set specific start and end dates.
6. Choose Your Ad Types and Placements
Facebook offers various ad types and placements:
- Image Ads
- Video Ads
- Carousel Ads
- Slideshow Ads
You can also choose where your ads will appear, such as in the Facebook news feed, Instagram feed, or Messenger.
7. Review and Publish
Before clicking Promote now, review your ad. Make sure all details are correct, and your target audience is set. Enter your payment information and click Promote now to finalize your ad.
8. Monitor Your Ad Performance
After your ad is live, you can track its performance in the Ads Manager. Click on All ads to see metrics like reach, impressions, cost per result, and relevance score.
By following these steps, you can create and manage effective ad campaigns using Facebook Business Manager. Next, we’ll explore the key features that make this tool indispensable for managing your business’s online presence.
Key Features of Facebook Business Manager
Facebook Business Manager offers a range of features that make it indispensable for managing your business's online presence. Let's dive into some of the key functionalities:
Manage Multiple Pages
With Facebook Business Manager, you can manage multiple Facebook pages from one centralized dashboard. This is especially useful if you have different brands or locations. No more logging in and out of different accounts. You get a bird's-eye view of all your pages in one place.
Employee Permissions
One of the standout features is the ability to set different levels of access for team members. Whether you have employees managing budgets and billing or third-party vendors creating content, you can control who has access to what. This ensures that sensitive information remains secure and only the right people can make changes.
Onboard Third-Party Vendors
If you work with external vendors or agencies, Facebook Business Manager makes it easy to onboard them. You can grant them the necessary permissions without giving them full control over your accounts. This way, vendors can manage ad campaigns or upload assets without compromising your business's security.
Billing Details
Keeping track of billing is a breeze. You can manage all your payment methods and billing information in one place. This is particularly useful for businesses running multiple ad accounts, as you can easily monitor spending and manage budgets across different campaigns.
Reporting and Analytics
Access to detailed reporting and analytics is crucial for optimizing your marketing efforts. Facebook Business Manager offers comprehensive insights into how your campaigns are performing. Metrics such as post reach, engagement rate, and audience demographics help you make informed decisions. You can even integrate with tools like Semrush Social for more advanced analytics.
By leveraging these features, you can streamline your social media management, improve security, and gain valuable insights to grow your business. Next, we’ll discuss common setup mistakes you should avoid to make the most out of Facebook Business Manager.
Common Setup Mistakes to Avoid
Setting up Facebook Business Manager can be straightforward if you follow the steps, but there are some common mistakes that can trip you up. Avoiding these pitfalls will save you time and headaches down the road.
Giving a User the Wrong Level of Access
One of the most frequent mistakes is giving the wrong level of access to team members. Facebook Business Manager offers three levels of access: Full Control, Partial Access, and Advanced Options.
Full Control should be limited to trusted individuals, like business owners or senior managers. They have total control over settings, assets, and people. Partial Access is ideal for marketing team members or external vendors who only need to work on specific tasks. Advanced Options can be added to either of these roles for those who need access to financial information.
Tip: Routinely check and update access levels to ensure that only authorized personnel have the necessary permissions. This will help keep your business assets secure.
Sharing Access to Your Personal Account
Another common mistake is linking your Business Manager account to your personal Facebook profile. Many people think this is necessary, but it’s not. Keeping your personal and business accounts separate is crucial.
Why? Mixing personal and business accounts can lead to security risks and privacy issues. If an employee leaves or if your relationship with a vendor changes, you don't want them to have access to your personal information.
Tip: Always use a business email to set up and manage your Facebook Business Manager account. This keeps your personal life and work life separate.
Not Owning the Manager Account
If you hire an agency or third-party vendor to manage your Business Manager account, make sure you retain ownership. Granting full control to an external party can be risky.
Why? If the relationship changes or ends, you could lose access to your own assets and business page. Retaining ownership ensures that you always have control over your business operations.
Tip: Grant admin access to agencies or vendors, but keep the ownership credentials with someone within your organization. This way, you can revoke access if needed without losing control.
By avoiding these common mistakes, you can set up your Facebook Business Manager account securely and efficiently. Next, we'll explore how to create your first campaign in Facebook Business Manager.
Best Practices for Facebook Business Manager
To get the most out of Facebook Business Manager, follow some best practices. These tips will help you secure your account, manage your assets effectively, and optimize your advertising efforts.
Two-Factor Authentication
Adding an extra layer of security is crucial. Two-factor authentication (2FA) helps protect your business assets from unauthorized access.
- Go to Business Settings: Steer to the "Security Center."
- Enable 2FA: Click the "Everyone" option in the drop-down menu to require two-factor authentication for all users.
Why it matters: This step ensures that even if someone gets your password, they won't be able to access your account without a secondary form of verification.
Set Up Locations
If your business has multiple physical locations, you can manage them all under one roof using the "Location" function in Facebook Business Manager.
- Steer to Shop Locations: Click on the menu button at the top of the page and select "Shop locations."
- Add Stores: Click "Get Started," then "Add Stores" and fill out the necessary information.
Pro Tip: This feature is especially useful for businesses with multiple branches, as it allows you to manage all your locations' Facebook pages from a single platform.
Brand Safety
Keeping your brand safe is critical. Facebook Business Manager offers features to manage brand safety at both domain and block list levels.
- Set Domains: Steer to "Business Settings," then click on "Brand safety and suitability."
- Create Block Lists: Click "Block lists," then "Create Block List" and upload a TXT or CSV file with sites you want to avoid.
Example: If you don't want your ads displayed on gambling or other inappropriate sites, you can add these to your block list to ensure your brand remains reputable.
Custom Audiences
One of the key strengths of Facebook Business Manager is its ability to create custom audiences based on user data.
- Use Facebook Pixel: Install Facebook Pixel on your website to track user actions.
- Build Audiences: Use the data collected to create custom audiences for your ad campaigns.
Fact: Custom audiences enable you to target users who have already shown interest in your products or services, increasing the likelihood of conversions.
By following these best practices, you can make the most of your Facebook Business Manager account. Next, we'll explore how to create your first campaign in Facebook Business Manager.
Frequently Asked Questions about Facebook Business Manager
What is Facebook Business Manager called now?
Facebook Business Manager is now called Meta Business Manager. This change aligns with Facebook’s rebranding to Meta. The platform remains a powerful tool for managing all your business assets on Facebook and Instagram in one place.
How do I use Facebook Business Manager?
Using Meta Business Manager involves several steps:
- Create Your Account: Visit business.facebook.com and follow the prompts to set up your account.
- Add Your Business Page(s): You can add existing pages or create new ones. If you manage pages for clients, use the "Request Access" option.
- Add Your Ad Account(s): Link your existing ad account or create a new one. Once an ad account is added, it cannot be removed.
- Add Team Members: Assign roles and permissions to your team members to help manage your business assets.
- Connect Partners or Agencies: Use the partner ID to manage permissions for third-party collaborators.
- Set Up Facebook Pixels: Install the pixel on your website to track conversions and optimize ads.
- Increase Security: Enable two-factor authentication to secure your account.
For detailed steps, refer to our previous sections on setting up your Meta Business Manager.
Does Facebook Business Manager cost money?
No, Meta Business Manager is free to use. It allows you to manage your Facebook and Instagram business activities without any cost. However, running ads and promoting posts will incur charges based on your ad budget.
By addressing these FAQs, we've covered the basics of what Meta Business Manager is, how to use it, and its cost. Now, let's dive into the key features of Facebook Business Manager and how they can benefit your business.
Conclusion
Facebook Business Manager is a powerful tool that helps businesses manage their Facebook and Instagram activities from one central dashboard. From setting up your business account to managing multiple ad accounts and pages, this tool simplifies your social media management process.
Benefits
The benefits of using Facebook Business Manager are immense:
- Centralized Management: Easily manage all your Facebook assets, including pages, ad accounts, and Instagram accounts, from one place.
- Improved Security: Features like two-factor authentication and role-based access control keep your business assets secure.
- Efficient Collaboration: Share access with team members and external vendors without compromising security.
- Advanced Analytics: Gain insights into your ad performance and audience engagement to make data-driven decisions.
- Custom Audiences: Use Facebook’s advanced targeting options to reach the most relevant audience for your campaigns.
Sirge: AI-Powered Growth Solutions
At Sirge, we understand the complexities of managing a successful online business. That’s why we offer AI-powered growth solutions custom for Shopify brands. Our tools help you uncover hidden opportunities, optimize your target audience, and make data-driven decisions with confidence.
Whether you’re just starting out or looking to scale your business, Sirge can help you achieve your goals. Our comprehensive suite of tools and resources makes it easier than ever to manage your social media marketing and drive sales.
Final Thoughts
By leveraging the features of Facebook Business Manager and integrating the advanced capabilities of Sirge, you can streamline your social media management and focus on growing your business. Take advantage of these tools to optimize your ad campaigns, engage with your audience, and boost your brand's presence on Facebook and Instagram.
Ready to take your social media marketing to the next level? Explore Sirge’s AI-powered growth solutions today and see how we can help your Shopify brand thrive.
Data Accuracy and Source
First, rest assured that Sirge’s data is accurate. However, the way we track and attribute conversions differs from ad platforms:
- Sirge Attribution: We track a user’s journey from the initial click on an ad all the way to the purchase, giving you a full picture of what drives sales.
- Ad Platform Attribution: Ad platforms often attribute a sale to an ad if there was a click and a later purchase, even if the purchase wasn't directly influenced by that click. This can lead to over-attribution.
Where Does Sirge's Data Come From?
Sirge collects data directly from your website interactions and integrates it with data from your ad platforms. Here’s how:
- Website Interactions: We track user behavior on your site from the first ad click to the final purchase.
- Ad Platform Data: We pull in data from your ad platforms to understand ad interactions, then combine it with our tracking for complete attribution insights.
The Impact of When You Set Up Sirge
Another reason for discrepancies is the timing of your Sirge setup:
- No Retroactive Data: Sirge does not track data from before you set up tracking. If you start using Sirge after running ads, past interactions won’t be captured, which can initially cause data differences.

