Guide to Creating a New Ad Account in Facebook Business Manager


Are you ready to take on Meta advertising and level up your brand? Creating an ad account in Meta Business Manager is one of the first steps to take if you want to start exposing your brand to new customers and see your brand grow.
Whether you're a pro marketer or just starting out in the digital advertising world, this guide will help you easily get through the process.
{{cta}}
Why Do I Need an Ad Account in Meta Business Manager?
Now, before we dive in, let's quickly check out why you even need an ad account in Meta Business Manager to manage your ad campaigns:
Because You Need It
Simply put, if you're going to run ads on any platforms under the Meta umbrella (Facebook, Instagram), you need an ad account to run it under. And to make it a little more complicated, Facebook doesn't automatically create an ad account for businesses. This is an especially important note because you want to be sure your ad account is under your business profile!
Ad Account Security and Ownership
Even though you need an ad account to run ads, there are still multiple benefits to advertising on the platform. For example, by using Meta Business Manager, you ensure the security and ownership of your ad account. You can control who has access to your ad account and maintain ownership even if team members change or leave your organization.
Easy Ad Platform Management
Meta Business Manager brings all your advertising tools and assets, like Facebook and Instagram, under one roof. This means you can effortlessly keep track of multiple ad accounts, Facebook Pages, and ad campaigns in one convenient place.
Good For Team Collaboration
With Business Manager, you can invite team members and agencies to join, while still keeping control over who does what. This helps especially as your team grows and it gets harder to manage everything all on your own!
Step 1: Access the Facebook Business Manager
To get started, make sure you have a Facebook account that is linked to your business page. Follow these steps to access the Facebook Business Manager:
- Visit business.facebook.com and click on the "Create Account" button.
- Fill in the required information, including your business name and email address.
- Click on "Submit" to create your Business Manager account.
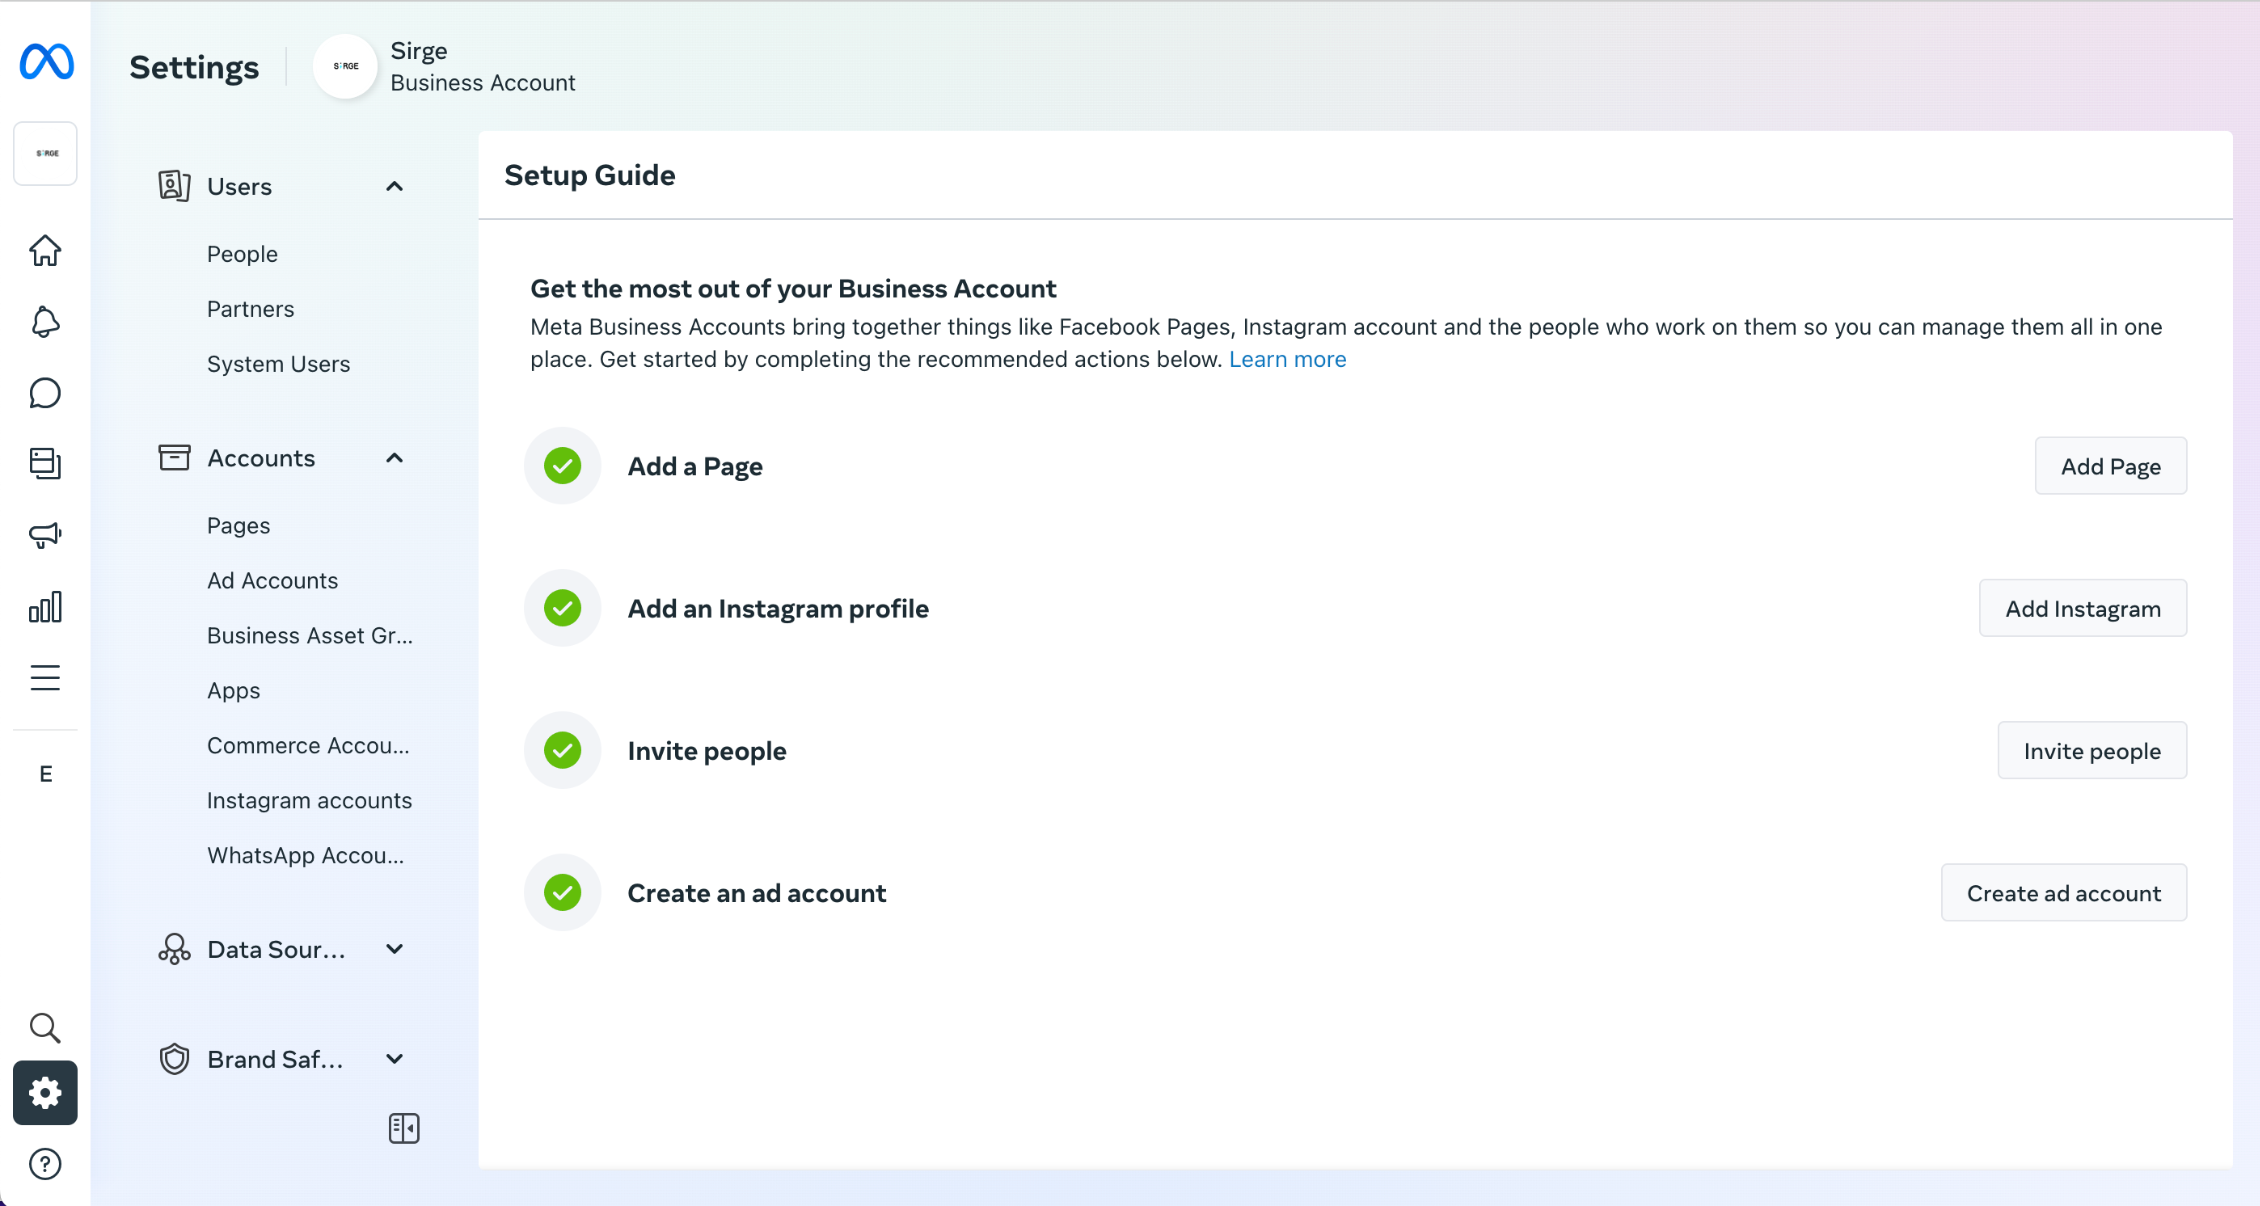
Step 2: Set Up Your Business Manager
Once you have created your Business Manager account, follow these steps to set up your Facebook Business Manager:
- On the Business Manager dashboard, click on the "Add New Account" button.
- Select "Add Ad Account" from the drop-down menu.
- Choose "Create a New Ad Account" and enter your account name and time zone.
- Click on "Create Ad Account" to proceed.
Step 3: Configure Ad Account Settings
After creating your new ad account, it's essential to configure the account settings to align with your advertising goals. Here's how you can do it:
- Go to the Business Manager dashboard and click on "Ad Accounts."
- Locate your new ad account and click on "Settings."
- Review and update the information in the "Account Info" section, including your payment method, ad account role, and notifications preferences.
- Make sure to save your changes before proceeding.
Step 4: Add People and Assign Roles
To collaborate effectively and grant access to team members or agencies, you need to add people and assign roles within your ad account. Follow these steps:
- Go to the Business Manager dashboard and click on "Ad Accounts."
- Select your new ad account and click on "Add People."
- Enter the email addresses of the individuals you want to add, assign them roles (e.g., admin, advertiser, analyst), and specify their access levels.
- Click on "Invite" to send the invitations.
Step 5: Connect Your Business Page and Instagram Account
To maximize the reach and impact of your ad campaigns, it's crucial to connect your Business Page and Instagram account to your ad account. Here's how you can do it:
- Go to the Business Manager dashboard and click on "Business Settings."
- Click on "Accounts" and select "Pages" or "Instagram Accounts."
- Click on "Add" and follow the instructions to connect your Business Page or Instagram account to your ad account.
FAQs about Creating a New Ad Account in Facebook Business Manager
Can I create multiple ad accounts in Facebook Business Manager?
Yes, you can create and manage multiple ad accounts within your Facebook Business Manager.
Can I change the account name after creating the ad account?
Yes, you can change the account name and other settings by accessing the account's settings within Facebook Business Manager.
What payment methods are accepted for Facebook advertising?
Facebook accepts various payment methods, including credit cards and PayPal, to pay for your advertising expenses.
Can I grant different levels of access to team members within my ad account?
Absolutely! Facebook Business Manager allows you to assign different roles and access levels to team members, ensuring appropriate access based on their responsibilities.
Creating a New Ad Account in Facebook Business Manager Conclusion
Creating a new ad account in Facebook Business Manager is a crucial step towards optimizing your Facebook advertising strategy. By leveraging the centralized management, enhanced collaboration, and advanced reporting features, you can effectively manage your campaigns and drive impactful results. Follow this step-by-step guide to create your new ad account and unlock the full potential of Facebook advertising for your business.
Data Accuracy and Source
First, rest assured that Sirge’s data is accurate. However, the way we track and attribute conversions differs from ad platforms:
- Sirge Attribution: We track a user’s journey from the initial click on an ad all the way to the purchase, giving you a full picture of what drives sales.
- Ad Platform Attribution: Ad platforms often attribute a sale to an ad if there was a click and a later purchase, even if the purchase wasn't directly influenced by that click. This can lead to over-attribution.
Where Does Sirge's Data Come From?
Sirge collects data directly from your website interactions and integrates it with data from your ad platforms. Here’s how:
- Website Interactions: We track user behavior on your site from the first ad click to the final purchase.
- Ad Platform Data: We pull in data from your ad platforms to understand ad interactions, then combine it with our tracking for complete attribution insights.
The Impact of When You Set Up Sirge
Another reason for discrepancies is the timing of your Sirge setup:
- No Retroactive Data: Sirge does not track data from before you set up tracking. If you start using Sirge after running ads, past interactions won’t be captured, which can initially cause data differences.

